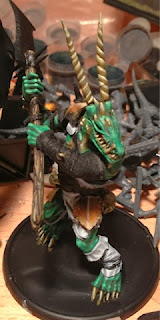
As always, you can check out the full post on my blog.
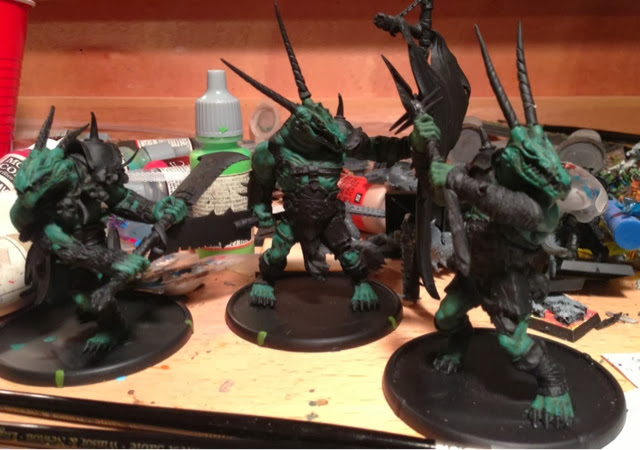
Three primed models. When painting a unit in shifts like this (where I come back to finish the unit later), I tend to take painstaking notes as to what I'm painting, so I can ensure color consistency.
As always, I tend to start on the lowest layer of the model when painting. Hence, we start with skin, then we'll do the wraps and cloth over the skin, then the claws and horns on top of the skin, then the metal armor on top of everything else. This unit was painted over three weeks, so any jumps in layering, note-taking, or bits where I just sort of did all the non-metallic-metals without talking about it are to be taken in stride.
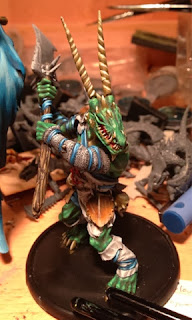
So, we'll start with the greens. Base coat is 4 parts Vallejo Cayman Green : 1 part SS Camo Black Brown : 1.5 parts Turquoise. I'm using turquoise to tie the green and blues of this army together; I have some units who will be primarily one and other units the other. Using the turquoise will hopefully bridge the difference between the two and make for a more consistent palette.
Second layer of greens used 2 parts Cayman Green to 2 parts Goblin Green, followed by 1 part SS Camo Black Brown and 1.5 parts Turquoise.
The third layer used 2 parts Goblin Green to 3 parts Scorpion Green, with 1 part SS Camo Black Brown and 1.5 parts Turquoise. I started an intermediate shade here of just 4 parts Goblin Green to the SS Camo Black and Turquoise, but it was indistinguishable from the previous shade, so I just painted over the top of it.
The unit, with four more rapid-fire layers down. The fifth layer was 4 parts Scorpion Green to 1 part Lemon Yellow, with 1 part Turquoise and half a part SS Camo Black Brown. I then did a sixth layer with 2 parts Scorpion Green, 2 parts Lemon Yellow, and the same Turquoise/SS Camo Black Brown ratios. Once that layer was done, I added two drops of Lemon Yellow, painted another layer, and then added 3 parts Lemon Yellow and 2 parts White and did a very, very fine highlight with that last shade.
The first three layers of white. I started with a base coat of Medium Sea Grey, then added a layer of 1:1 Medium Sea Grey and Wolf Grey, then a layer of just Wolf Grey.
For the final layer of white, I used a 50/50 mix of Wolf Grey to white. It's brighter than I'm used to having on a non-metallic portion of the model, so I was nervous about it. Hopefully it would just help the rest of the model to pop forward...
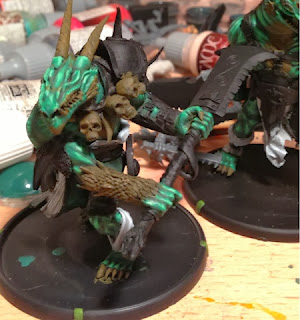
On to the teeth, horns, wood,and bone! I used my standard bone shades for this, starting with 4 parts Leather Brown to 4 parts SS Camo Black Brown, with a drop of Goblin Green to show the bone reflecting the green skintone.
I then took a week off and threw a birthday party for my daughter. She's two, so she didn't understand why Daddy's painting was important.
I came back and went into the second layer of the bone: 4 parts Leather Brown to 2 parts SS Camo Black Brown. I still added 1 part Goblin Green for the tint.
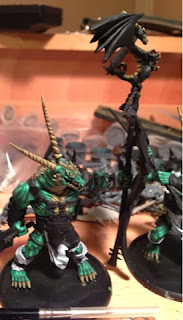
For the third layer, I used 4 parts Leather Brown : 1 part Goblin Green : 1 part Medium Grey. I love Medium Grey for bone.
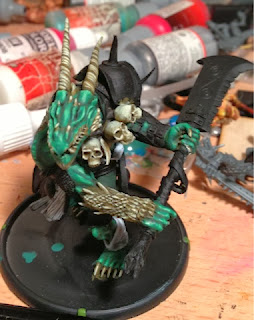
For the fourth layer of bone, I went with 1 part Leather Brown to 3 parts Medium Grey with a drop of Goblin Green. I'm pleased with how the scales on the backs of the unit are turning out, but frustrated with the horns.
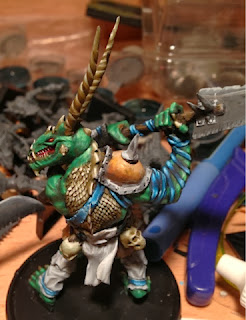
For the fifth layer, I used 1 part Medium Grey to 3 parts Pale Flesh. I then did a sixth layer with 2 parts Pale Flesh to 2 parts White. The sixth layer is VERY subdued, but is what makes the model pop.With that concluded, I moved on to the brass:
I used the same shades for my brass as I did for the Tawrdraig. You can read more about it there if you're interested. It's done with wet blending, and careful painting over it repeatedly. I then followed by wet blending my metallic silvers (again using the Tawrdraig colors), and started on the blues.
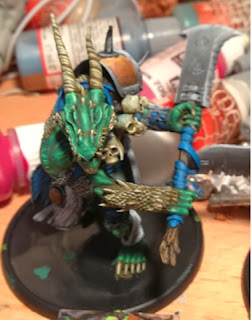
The first layer of blue was 4 Medium Blue : 1 part black. Once that base coat was down, I came back with a layer of pure Medium Blue, mixed 3:1 with Turquoise (again, keeping my palette similar between units).
For the third layer of blue, I used 2 Medium Blue : 1 part Sky Blue. For the fourth layer, I used 1 part Medium Blue to 3 parts Sky Blue.
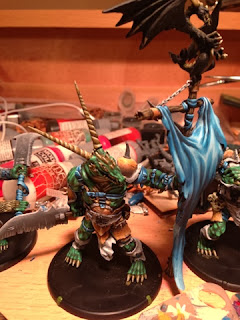
Finally, I hit the highest points with a mixture of 3 Sky Blue : 1 Skull White. This made the blues very distinctive in contrast, as they've gone from Black to White.
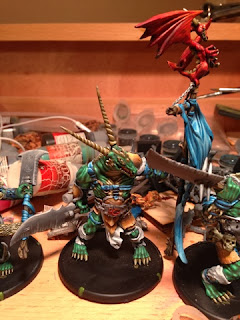
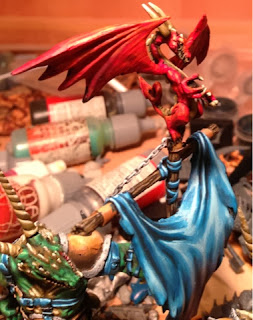
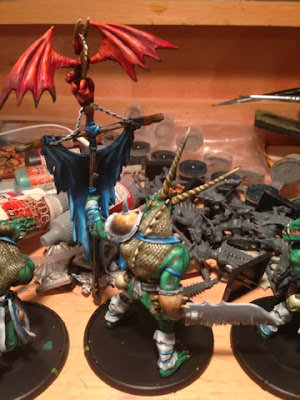
For the reds, I started with 3 parts Red : 1 part Red. The reds are very subtle on the models: They comprise the eyes, the guns and tongue, and any dragon iconography on their gut plates. I also used it to paint the wyrmling on the top of the standard.
With the base coat in place, I then did a pair of additional layers, using Bloody Red and Orange Fire.
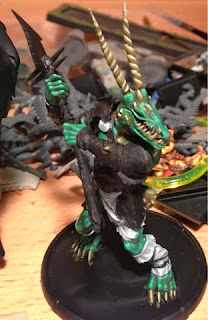
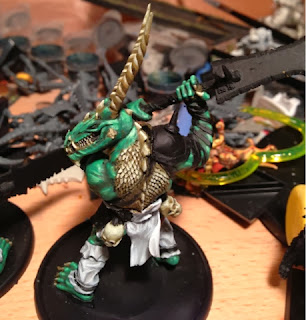
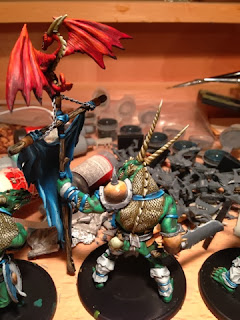
The final unit.
Razormage's Dyndraig
Re: Razormage's Dyndraig
It's possible that when I said "the final unit" up above, I was lying. I'd always intended to paint more Dyndraig, as my Warriors of Not-Lawfulness army will run between 6 and 7 of them as an Ogre-equivalent. After finishing Angrislaug, I decided the others should be next!
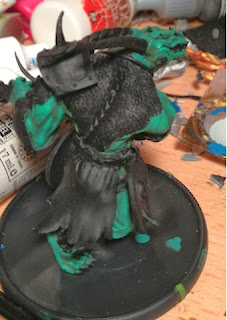
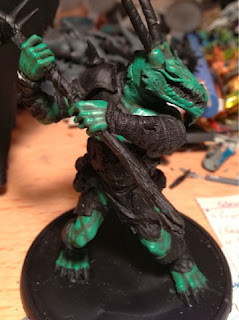
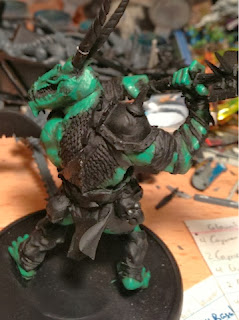
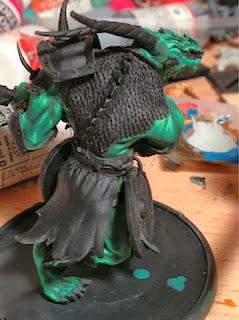
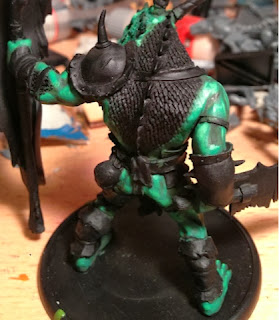
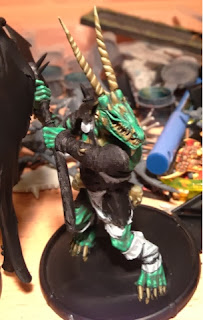
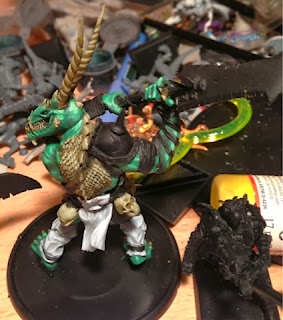
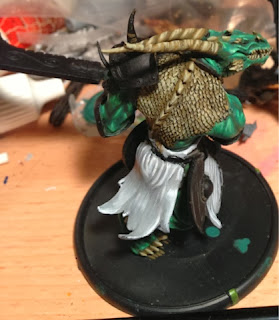
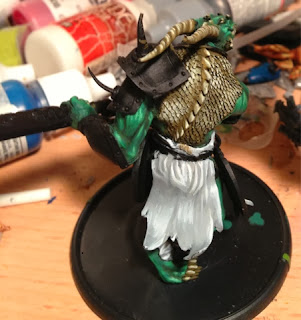
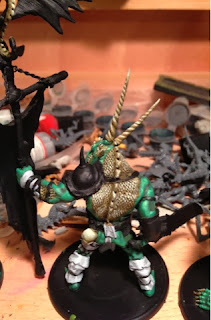
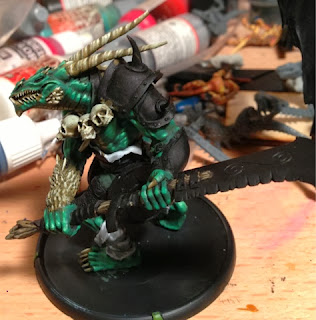
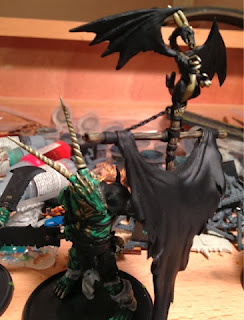
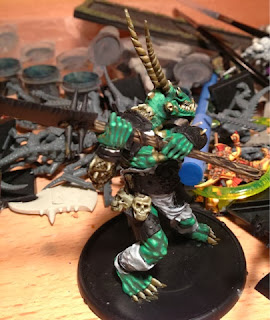
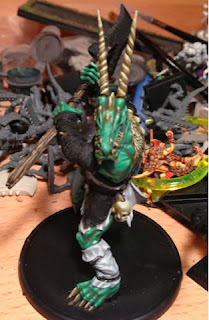
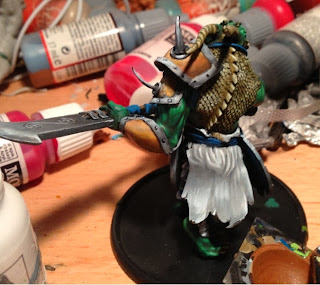
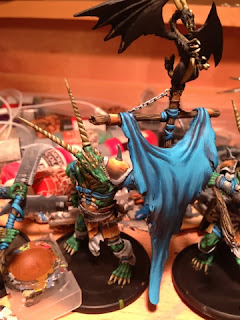
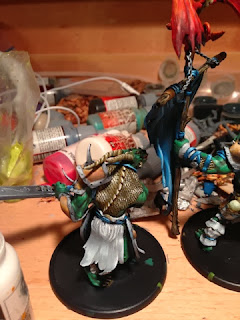
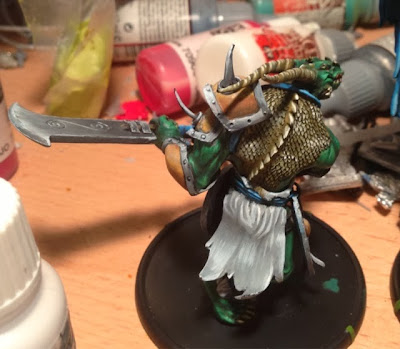
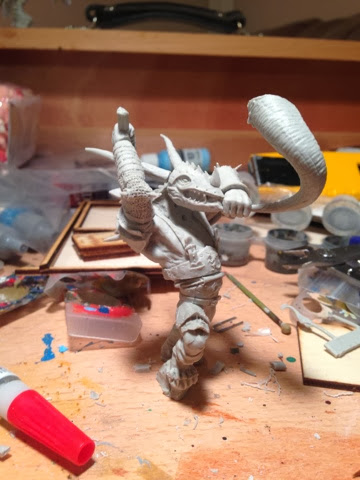
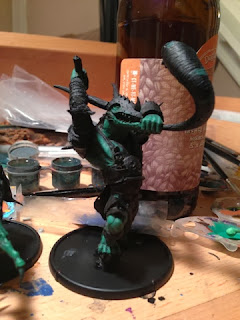
Because I intend to dual-use the Dyndraig as Not-Lawful Ogres, I knew I was going to need a musician. I took one of my extra Aradae Mawr torsos, and a horn I'd bit-ordered from Mierce (a bonus point to whoever can ID what model it's from!) to make this guy. I've made a number of "Never skip leg day!" jokes at his expense, because Aradae's torso is just a bit bigger than what his legs can proportionately handle. I went back and sculpted his armor up around his waist some to compensate, but I fear he's always going to be laughably scrawny in the lower regions.
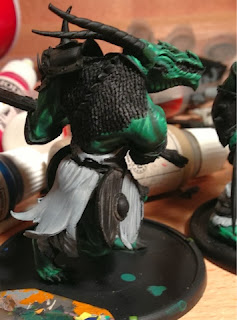
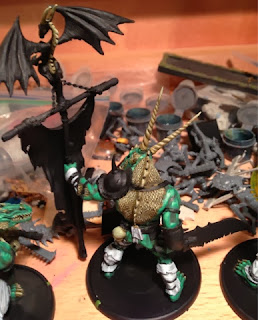
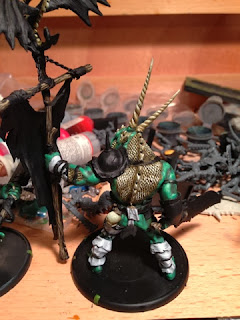
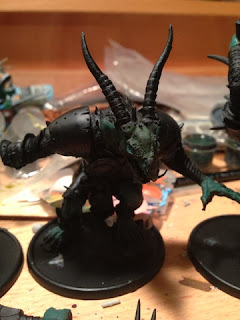
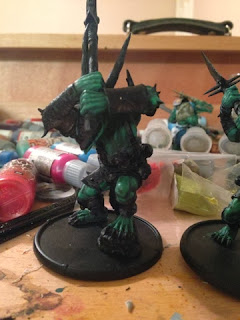
A reverse of Mister Upper Body Workout.
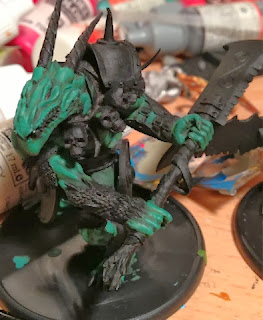
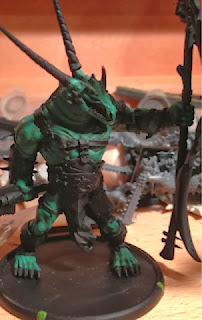
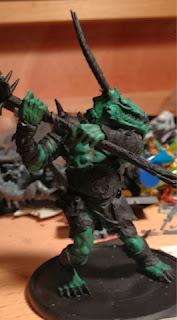
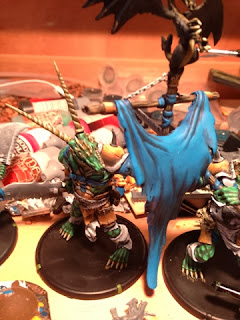
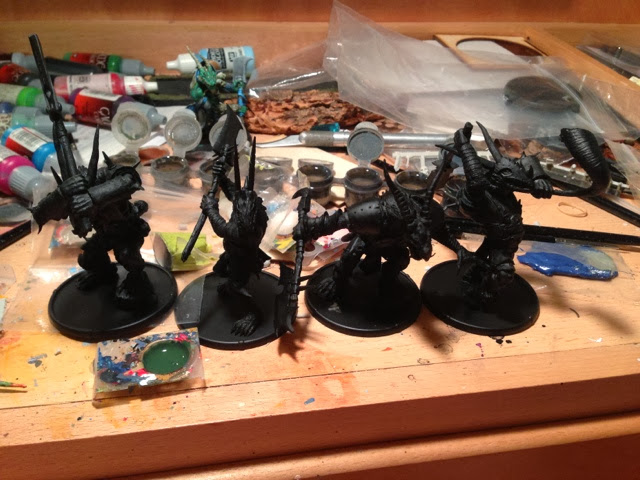
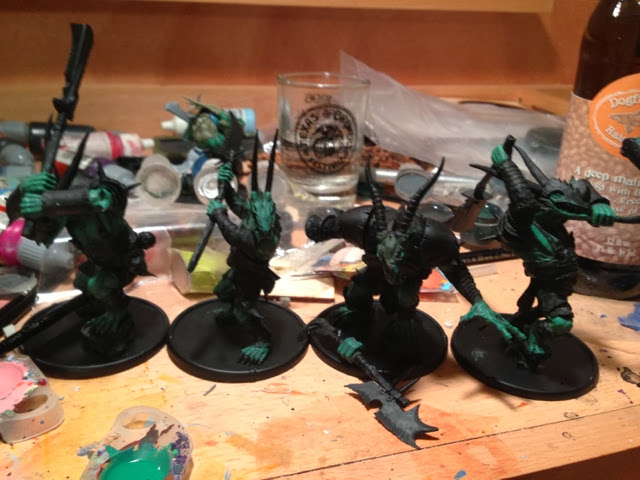
Here are the four Dyndraig primed black. Since I've already done one WiP thread for the Dyndraig, and these guys are using the same color scheme, I'm just going to let you know what layer I'm on, and throw a bunch of pictures up. If you complain enough I'll talk about the proportions, but I'm trying to crank this unit out as fast as possible, so I'm being less loquacious than normal.
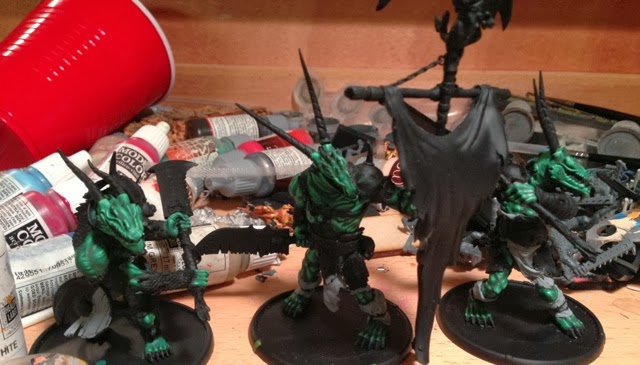
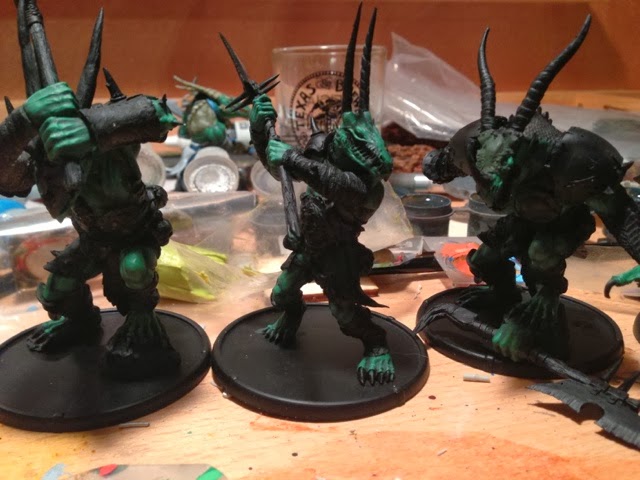
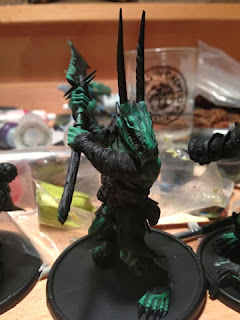
First layer of green. Notice the Brythoniaid I painted earlier in the background; I'm using him to make sure my colors are close, so it looks like a cohesive unit.
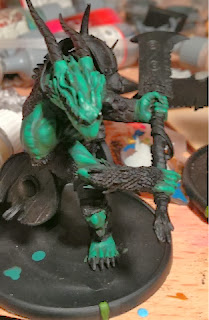
Second layer of green. I dropped Gallwch Llad Llaw while painting this layer, and his halberd broke off. As of 2/19, I still haven't fixed it.
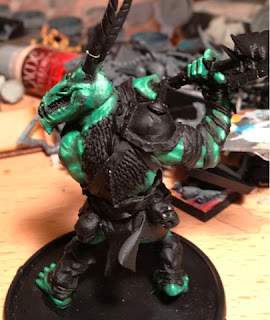
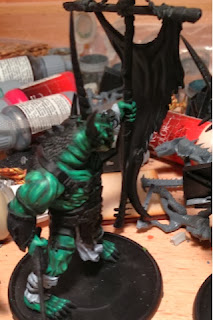
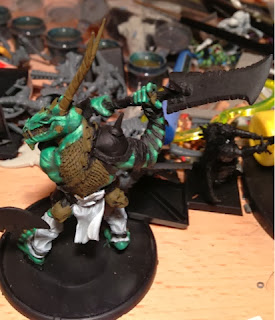
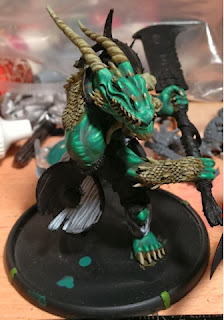
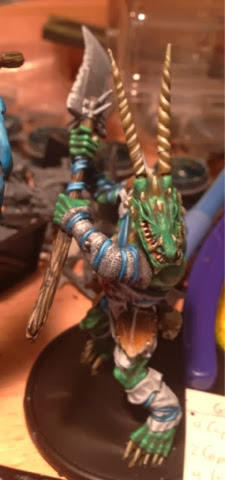
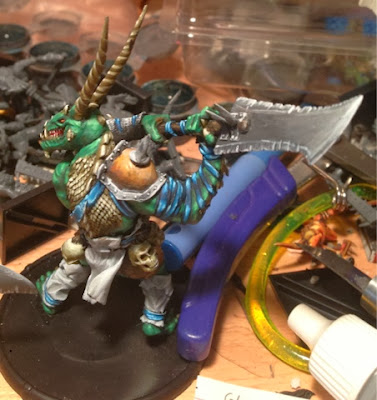
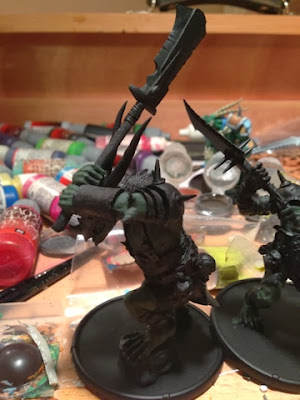
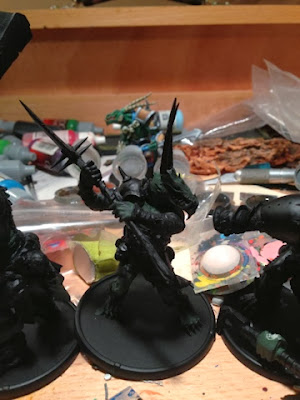
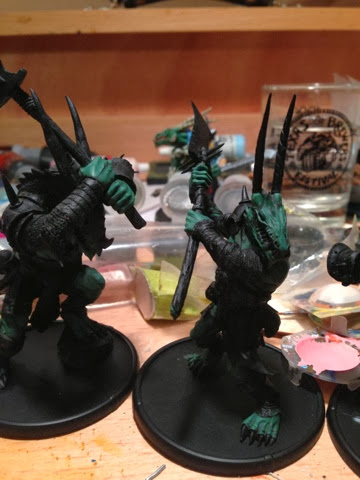
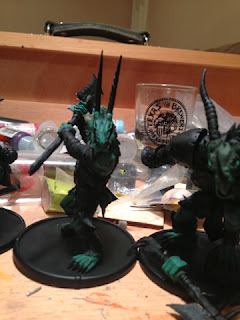
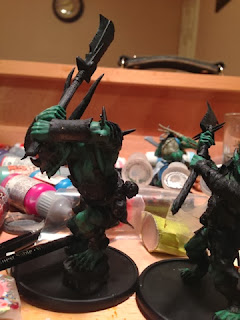
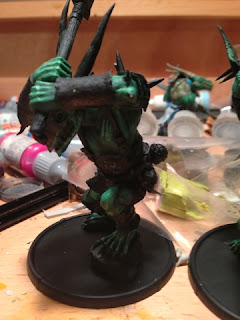
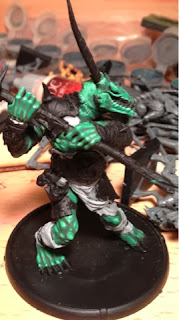
Some individual shots of the models, two layers in.
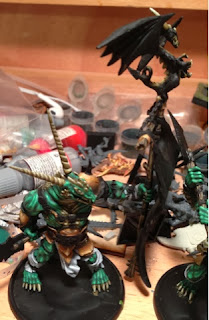
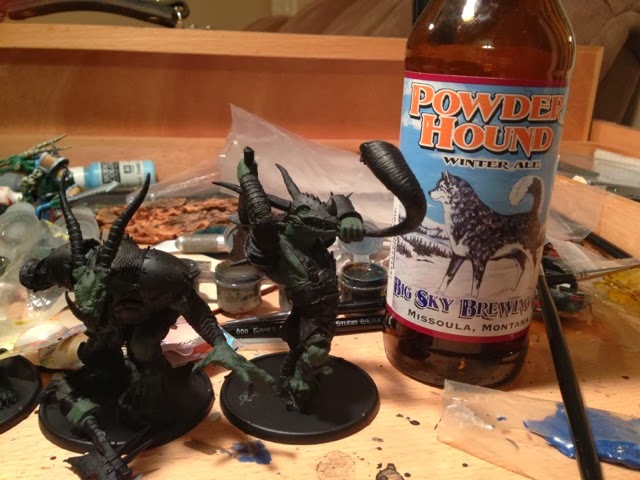
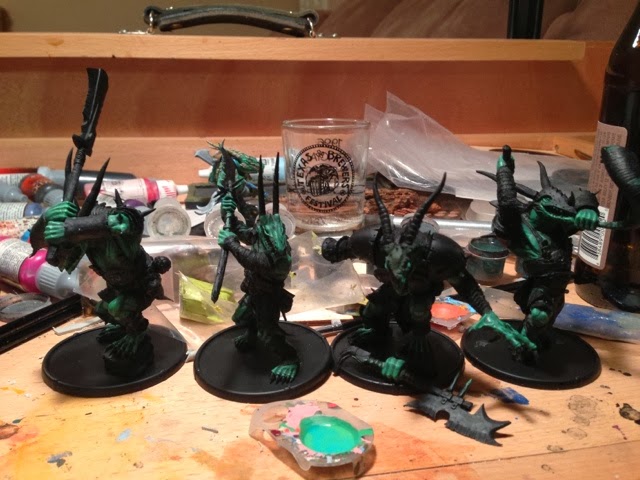
Second layer, with some company. It's worth mentioning at this point that I did all seven skintone layers in a single night, and the night of painting was fueled by fermented carbohydrates. I don't think the thread can be kid-friendly after this point.
Third layer. Notice the blurriness that's starting to creep into the photos? That's because it's 2 AM when I took them, and that's beer #5.
Fourth layer. The Franconia Wheat was not at all a good beer. I was disappointed.
In fact, I was so disappointed that for the fifth layer, I not only got a new beer, but added another fermented alcohol product in the shot glass behind them.
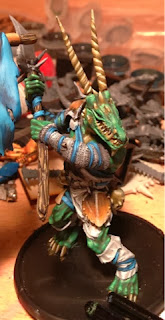
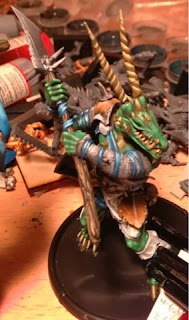
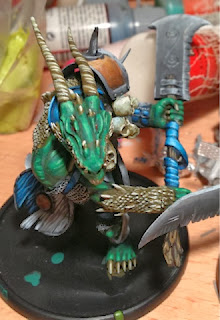
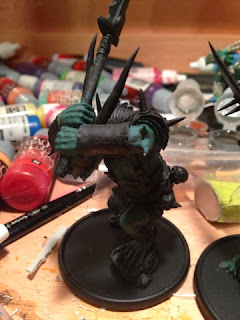
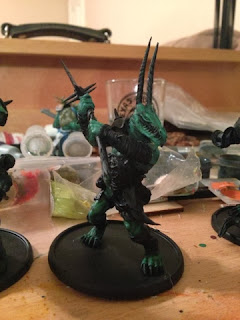
Some individual shots of Layer 5.
Layer six. I clearly don't care about focusing my camera anymore.
Apparently I felt that because I couldn't bother to focus, clearly that meant you guys wanted a ton of pictures of layers.
Seventh layer, I guess? At this point, things were kind of fuzzy in my decision-making ability, so it's possible that this is the same as the layer above. Looking at it closer, though, I don't think it is. I had a picture on my camera of my hand somewhere around this point, so I don't think I was making quite the best decisions as to when I should be taking pictures.
(I use my left hand - the one I hold the model with - as a wet palette sometimes when I need to smooth out a transition between two layers. I often have very interesting color transitions on the back of my hand between my thumb and index finger as a result. For some reason - probably the vodka - I thought it was worth taking a picture of that to discuss my technique for that. It's a horrible technique, though, so I'm not going to talk about it, nor make you stare at a picture of my hand with paint on it.)
Individual shots of whatever layer I was on here. At 3 AM, I pretty much quit taking notes on what I'm doing or leaving myself visual clues to help me the next morning.
Still the penultimate layer.
Last layer! I know that this was the last layer, because I stopped when I was done with it.
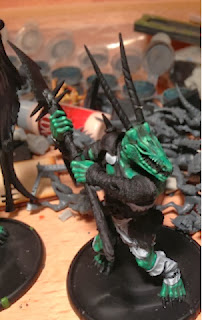
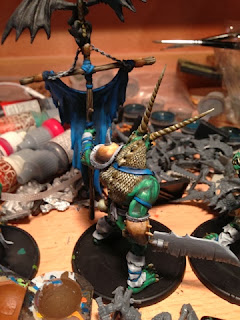
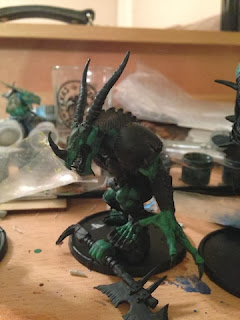
Individual shots of the last layer.
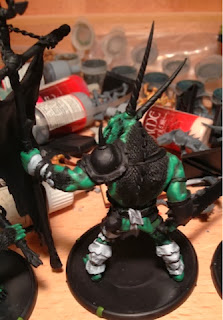
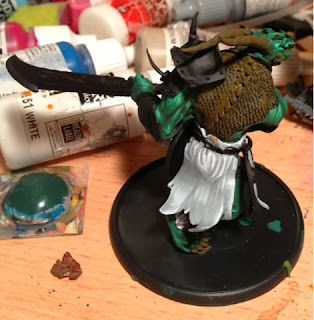
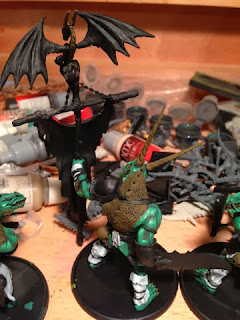
In this picture, I can see the little voice in the back of my head going, "Ryan! You didn't take any pictures of the backs of them! They're going to think you only painted the front of them! Quick, turn them around and take a picture!"
Stop painting and go to bed, Ryan. You're drunk.
So, yea, all that was Monday night. Usually skintone on four models like this is about an hour per layer. Extrapolated over the seven or eight layers that seem to be up there, it should have been a solid eight-hour painting block. I did all that stuff above in under four. Don't drink alcohol and paint, kids! It make you paint fast and be kind of sloppy, as well as take random pictures of your hands!
Tuesday night, I knew there would be consequences of another 4 AM bedtime, so I limited myself to one beer and focusing on one shade. In this case, it would be the grey.
First layer of the grey. The model on the left has his second layer down, as I realized that I hadn't done a picture of the first.
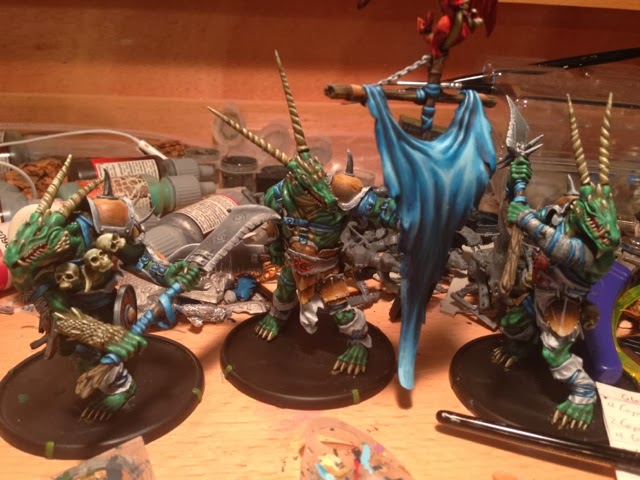
Second layer of the grey. Except for the dude on the left, for the exact same reason as the last layer.
Last layer of the grey. I rapid-fired the last two and didn't take pictures in between. Forgetting to do it for the first two layers should have clued me in that it was a possibility, but I apparently don't listen to myself.
Because I intend to dual-use the Dyndraig as Not-Lawful Ogres, I knew I was going to need a musician. I took one of my extra Aradae Mawr torsos, and a horn I'd bit-ordered from Mierce (a bonus point to whoever can ID what model it's from!) to make this guy. I've made a number of "Never skip leg day!" jokes at his expense, because Aradae's torso is just a bit bigger than what his legs can proportionately handle. I went back and sculpted his armor up around his waist some to compensate, but I fear he's always going to be laughably scrawny in the lower regions.
A reverse of Mister Upper Body Workout.
Here are the four Dyndraig primed black. Since I've already done one WiP thread for the Dyndraig, and these guys are using the same color scheme, I'm just going to let you know what layer I'm on, and throw a bunch of pictures up. If you complain enough I'll talk about the proportions, but I'm trying to crank this unit out as fast as possible, so I'm being less loquacious than normal.
First layer of green. Notice the Brythoniaid I painted earlier in the background; I'm using him to make sure my colors are close, so it looks like a cohesive unit.
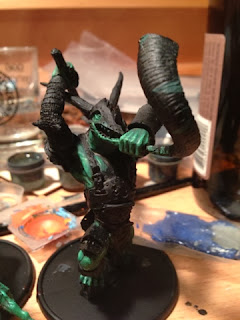
Second layer of green. I dropped Gallwch Llad Llaw while painting this layer, and his halberd broke off. As of 2/19, I still haven't fixed it.
Some individual shots of the models, two layers in.
Second layer, with some company. It's worth mentioning at this point that I did all seven skintone layers in a single night, and the night of painting was fueled by fermented carbohydrates. I don't think the thread can be kid-friendly after this point.
Third layer. Notice the blurriness that's starting to creep into the photos? That's because it's 2 AM when I took them, and that's beer #5.
Fourth layer. The Franconia Wheat was not at all a good beer. I was disappointed.
In fact, I was so disappointed that for the fifth layer, I not only got a new beer, but added another fermented alcohol product in the shot glass behind them.
Some individual shots of Layer 5.
Layer six. I clearly don't care about focusing my camera anymore.
Apparently I felt that because I couldn't bother to focus, clearly that meant you guys wanted a ton of pictures of layers.
Seventh layer, I guess? At this point, things were kind of fuzzy in my decision-making ability, so it's possible that this is the same as the layer above. Looking at it closer, though, I don't think it is. I had a picture on my camera of my hand somewhere around this point, so I don't think I was making quite the best decisions as to when I should be taking pictures.
(I use my left hand - the one I hold the model with - as a wet palette sometimes when I need to smooth out a transition between two layers. I often have very interesting color transitions on the back of my hand between my thumb and index finger as a result. For some reason - probably the vodka - I thought it was worth taking a picture of that to discuss my technique for that. It's a horrible technique, though, so I'm not going to talk about it, nor make you stare at a picture of my hand with paint on it.)
Individual shots of whatever layer I was on here. At 3 AM, I pretty much quit taking notes on what I'm doing or leaving myself visual clues to help me the next morning.
Still the penultimate layer.
Last layer! I know that this was the last layer, because I stopped when I was done with it.
Individual shots of the last layer.
In this picture, I can see the little voice in the back of my head going, "Ryan! You didn't take any pictures of the backs of them! They're going to think you only painted the front of them! Quick, turn them around and take a picture!"
Stop painting and go to bed, Ryan. You're drunk.
So, yea, all that was Monday night. Usually skintone on four models like this is about an hour per layer. Extrapolated over the seven or eight layers that seem to be up there, it should have been a solid eight-hour painting block. I did all that stuff above in under four. Don't drink alcohol and paint, kids! It make you paint fast and be kind of sloppy, as well as take random pictures of your hands!
Tuesday night, I knew there would be consequences of another 4 AM bedtime, so I limited myself to one beer and focusing on one shade. In this case, it would be the grey.
First layer of the grey. The model on the left has his second layer down, as I realized that I hadn't done a picture of the first.
Second layer of the grey. Except for the dude on the left, for the exact same reason as the last layer.
Last layer of the grey. I rapid-fired the last two and didn't take pictures in between. Forgetting to do it for the first two layers should have clued me in that it was a possibility, but I apparently don't listen to myself.
Re: Razormage's Dyndraig
That looks like a Krull horn.
As I always say. At the end of the day.................it goes dark
Who is online
Users browsing this forum: No registered users and 6 guests