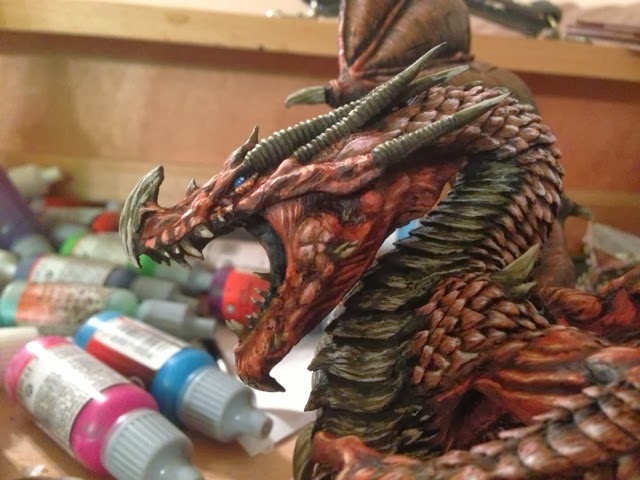
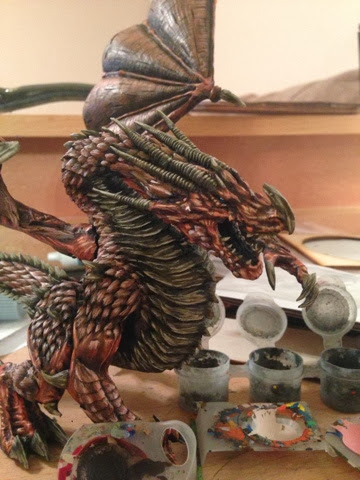
Razormage's Angrislaug WiP
Posted: Tue Feb 04, 2014 8:27 pm

Here are all the components, spread out after cleaning them off in hot soapy water. The sprue on the top-left is the horns, the middle-left is the claws for the right hand, the two on the bottom are the talons for the wings, and the one in the top-right is the tail and tongue.
Mold Lines:
Any model this large is going to have mold lines. The question is how critical they are to the sculpt. Most of them, like the one pictured below
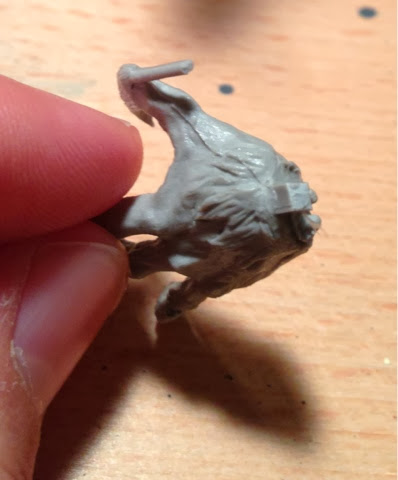
The mold line shown on this hand was easily trimmed down with a sharp knife. The tail and horns had a bit more significant mold lines, but they were primarily in places that would not be visible unless someone picked up the model.
Gaps:
Any model this large is going to have gaps. Let's look at how noticeable they are..

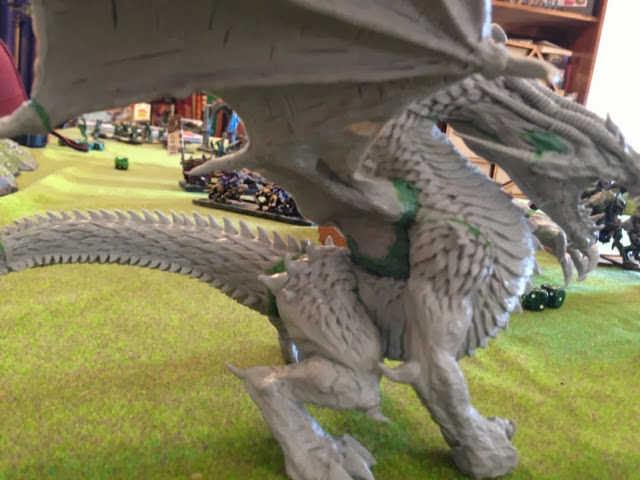
Two are shown here: the head/neck, and the right shoulder to the body. Both were easily greenstuffed (see below).

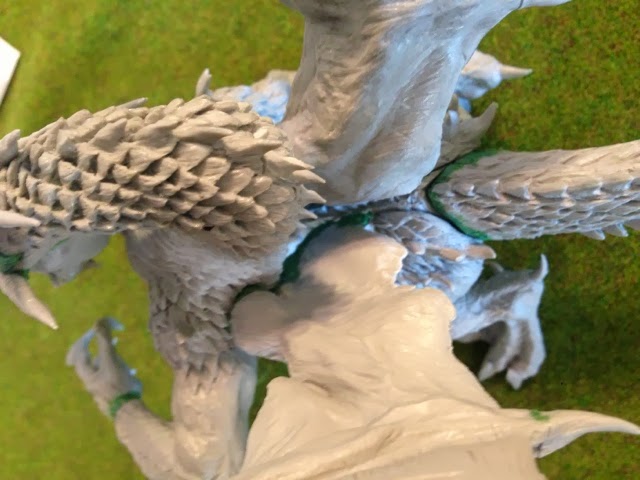
The head-neck gap still had a bit more issue, but look at how cleanly that left arm fits into the body! One of the best seams I've ever seen on a model, right there.
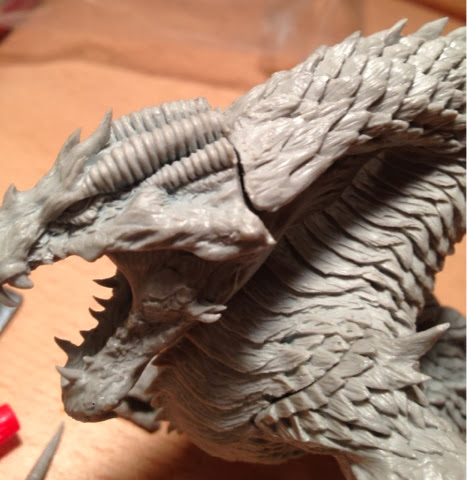
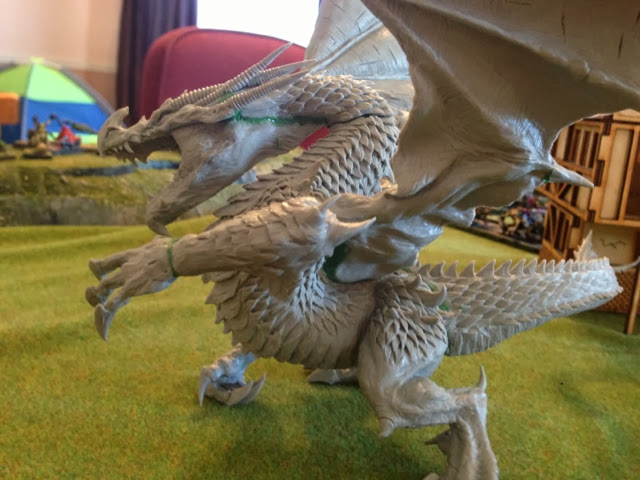
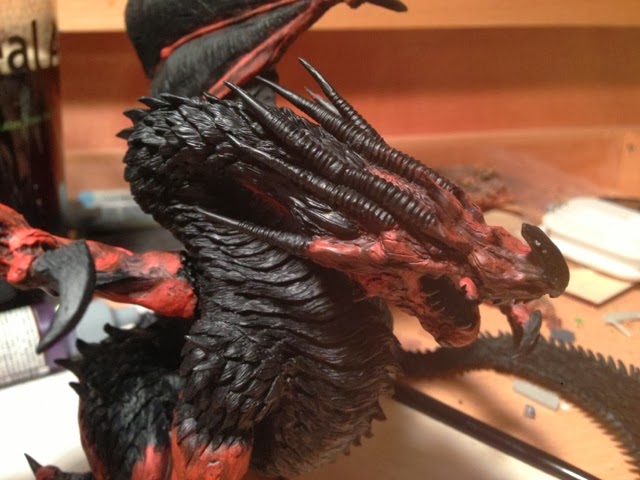
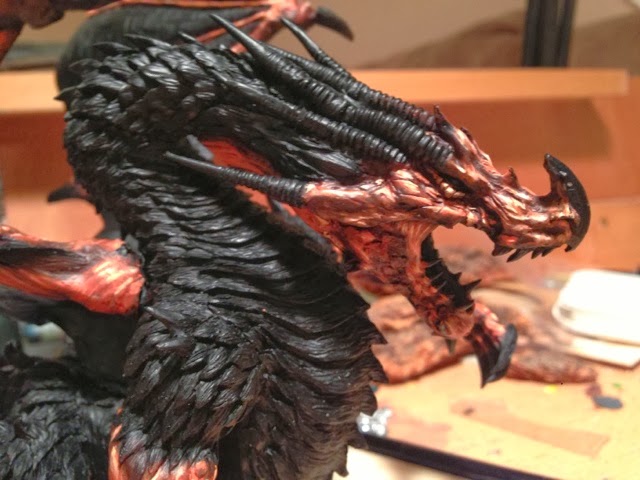
Another shot of the head/neck joint.
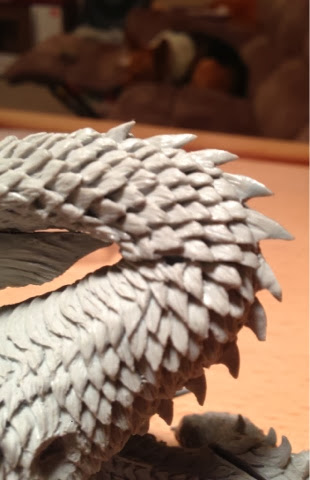
The neck/body seam is a bit obvious from below, but is largely unseen if you view the model from a player's viewpoint.
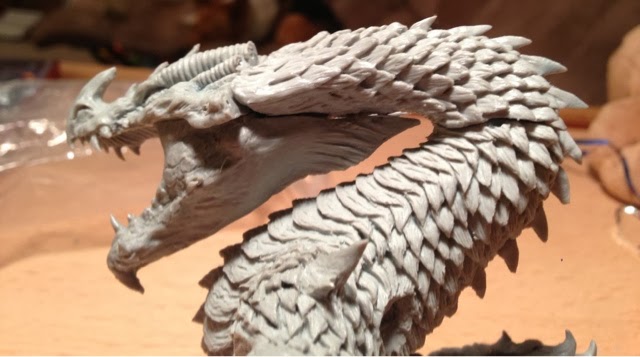
I also had some gaps you could see between the lower jaw and the body, but these were really easy to fix with greenstuff.

The horns and back of the head needed a bit of adjustment to fill the seams, as did the wrist to the left hand.
Air Bubbles:
I had three air bubbles that could be clearly seen in the resin.
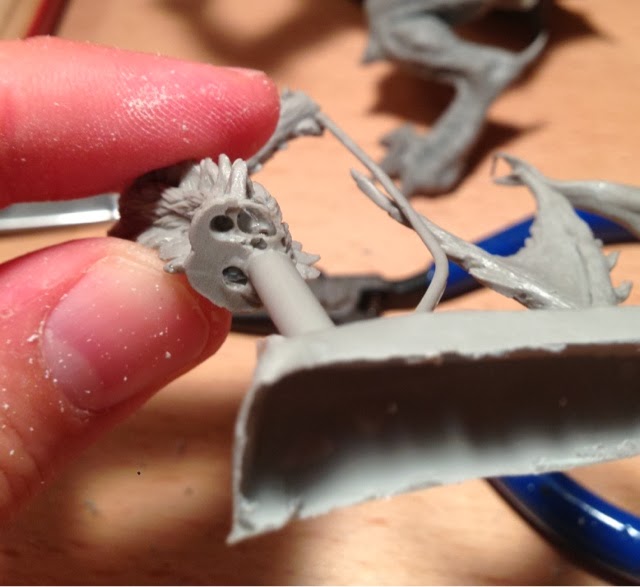
The first, in this tail (next to the perfectly round hole) made the fit difficult, but couldn't be seen once the tail was assembled. The second was actually inside a wing, and could be seen if you held it up to the light, but was completely enclosed. The third was on the body just before where the tail connected, and actually was in place of a horn. I intended to replace it with green stuff, but once the wings were in place it was very difficult to see, so I might leave it alone.
Assembly:
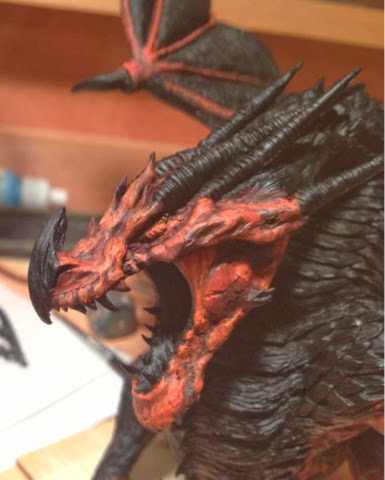
The biggest problem I had with the assembly came with the horns; I could not figure out if they went left to right, or right to left. I e-mailed Mierce and got the response (sadly the next day) that the horn labeled I went on the model's left cheek, and they moved from that cheek across.

Mine are all kinds of wrong, and are (from right cheek to left cheek, left to right across the screen): I, V, III, IV, II, VI. In the end, I just put them in the way that fit best. III was the only one that didn't seem to line up correctly with any of the others, and I ended up greenstuffing the transition to make it work.

The right claws slot into the holes shown above. I strongly recommend pinning the thumb (labeled IV on the sprue).

See those thin plastic pegs connecting the claws to the sprue? DO NOT CUT THOSE! If you do, you're going to have to pin those claws to the foot. I made that mistake with two of them, and had to pin both.

This shot shows the hole where the right wing is supposed to slot in. This must have been one of the last casts they used from this mold (they re-made the mold the day after this was cast), because the hole is almost completely filled in with a resin plug. It's not a big deal though, as you'll see when I show you how I'm attaching the wings.
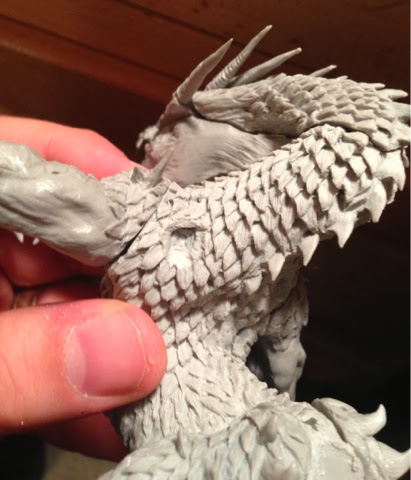
This is what the hole should look like on your model: a nice, clean channel for the wing peg to slot into.
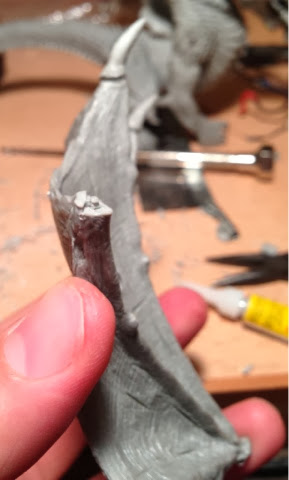
The only mold slippage issue I had: this join for the wing talon should be flat, but you can see the mold slipped a bit just to the left of the peg. It was easily corrected with a knife. I was worried about which tips went on which wings, but it's easy to tell: one wing has pegs and the tips have holes, while the other wing has holes and the tips have pegs. I strongly recommend replacing the pegged wingtips with pins, but the other one seems to be holding well.
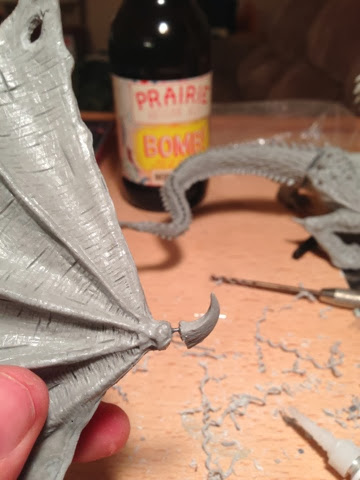
I also recommend pinning the talon on the top of the wing, as it's in a position that will break off very easily.
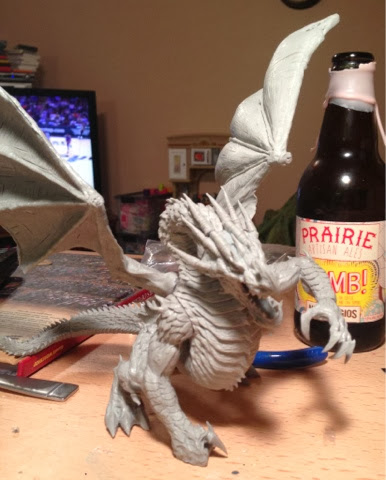
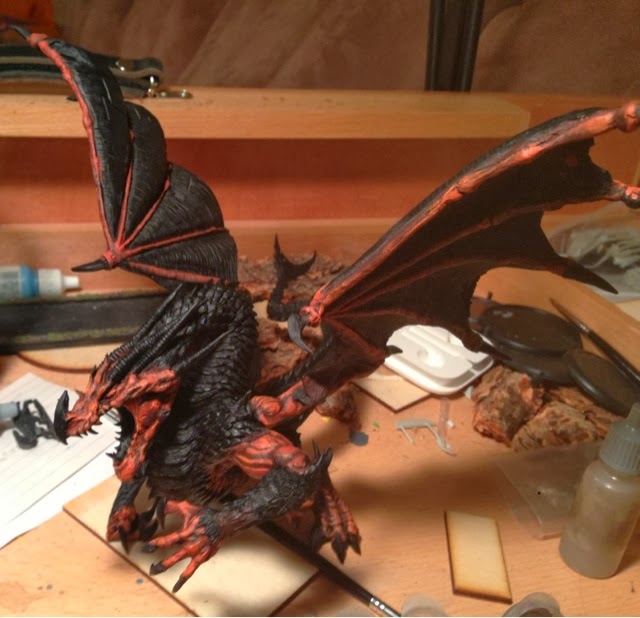
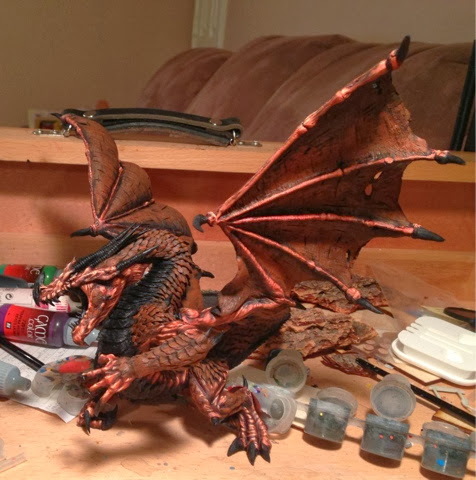
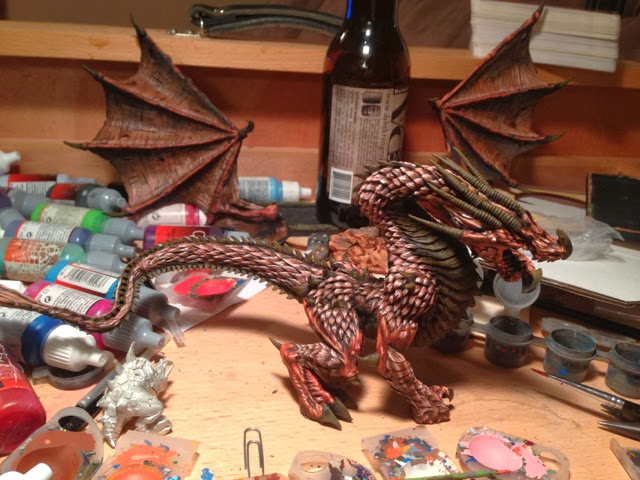
I pinned the wings and tail with paper clips initially, just to set up this photo. That will change shortly.
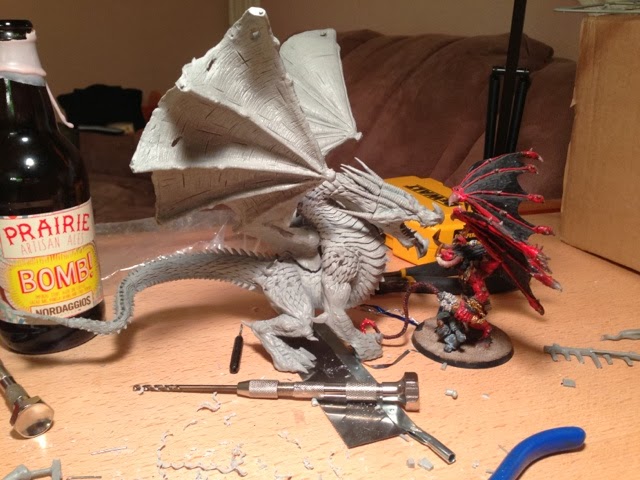
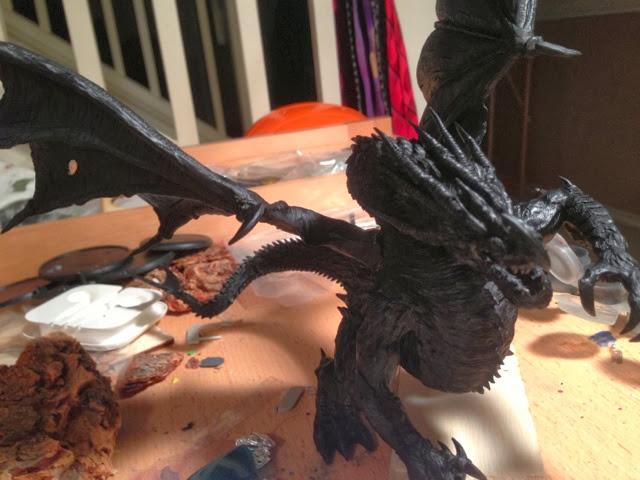
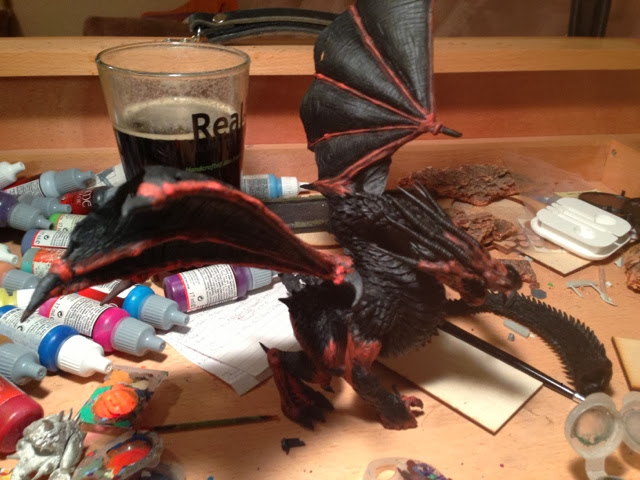
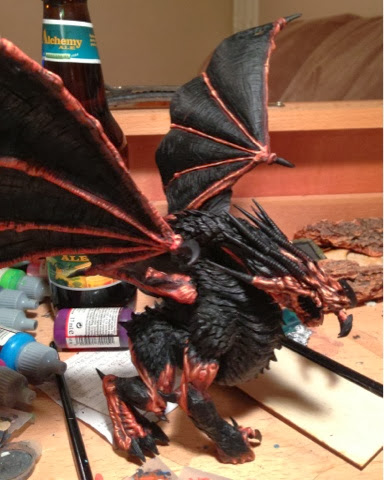
While I had him pinned together roughly, I grabbed my Bloodthirster just to emphasize how big this dragon is. It's very, very, very large. See that giant drill bit in the pin vise? Let's use that next!
Gap filling/pinning the wings and tail:
This model is going to be traveling, and will have to make at least one airline trip. To make it easier to put into foam, I decided very early that the wings and tail would be detachable, to reduce its footprint.
I have some round plastic sprue from an old model airplane kit that I keep around for use as rod, and so I pulled it out of a cubbyhole, and grabbed the 1/8" drill bit that I know works for it. Using the channels I'd already drilled for my pins, I drilled them out. With a 1/8" drill bit.

The wing receptacles, with 1/8" holes drilled in them.

Drilling out the bottom of the tail with a 1/8" drill bit.

The pinned tail, partially inserted into the base of the model.

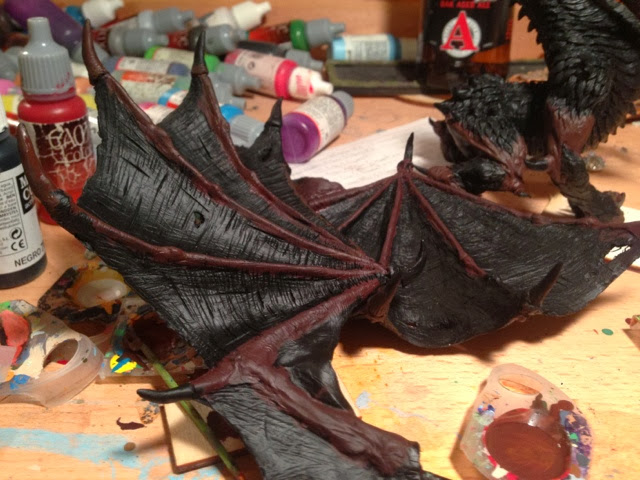
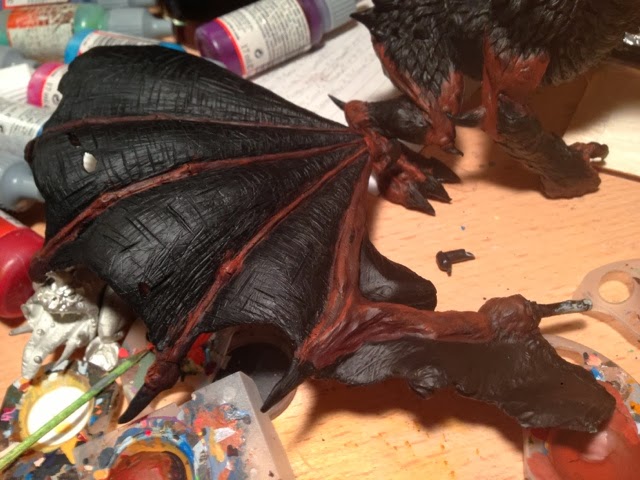
The left wing showing the pin coming out. The greenstuff here is purely to fill the gap; I'll sculpt the texture over the top tomorrow when it's set.
Gap filling

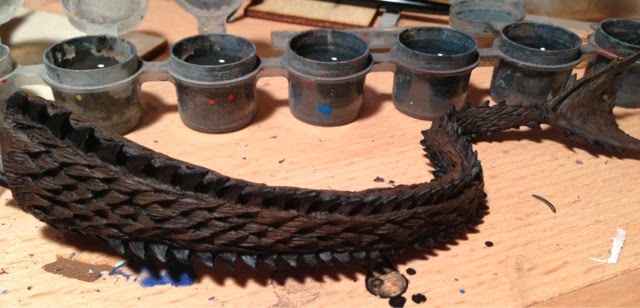
Here's the greenstuff to fill the gaps in the tail.

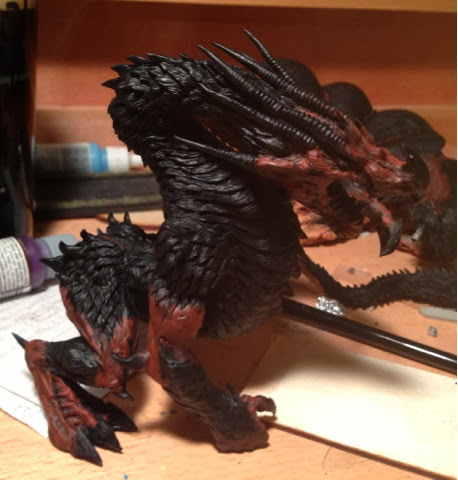
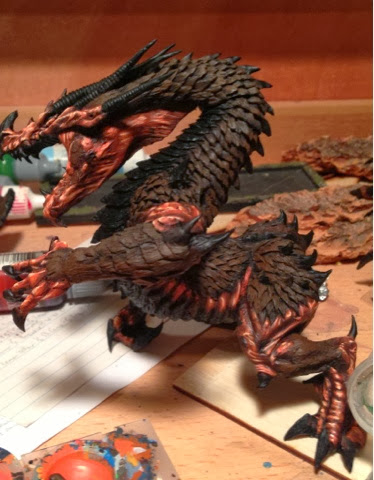
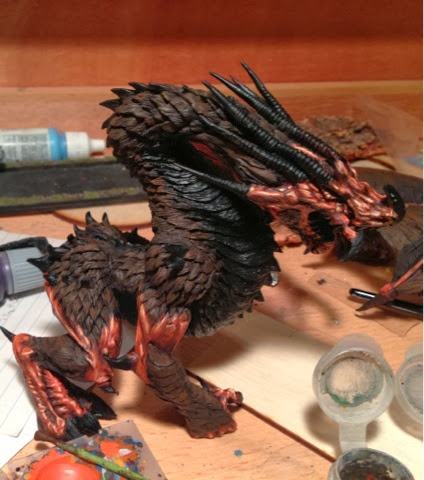
Greenstuff filling the gaps around the head (including a custom scale between the bottom and second horn), and a fake horn rim to bring the sizes closes together.

The right shoulder and hip required very little work to fill the gaps.

The gap fill on the left side of the tail.

Another custom scale to fill the gaps between the bottom and middle horn on the left, as well as the gap between the lower jaw and the neck.
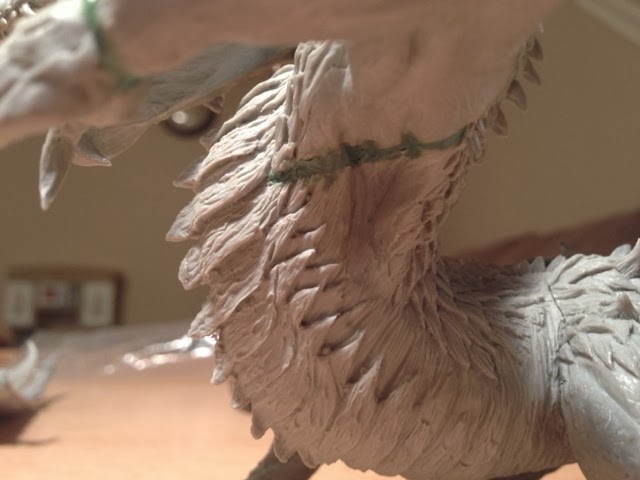
The biggest gap in the model, underneath the left arm, was pretty straightforward to fill. At 2 AM, though, I quit working on him without taking a finished assembly picture - I needed sleep!
The tasks tonight: finish filling the gaps between the wing and torso, and take shots of the final assembled model!
After that I'll take a couple of scale shots, and do a final review. For now, though, enjoy the process!

